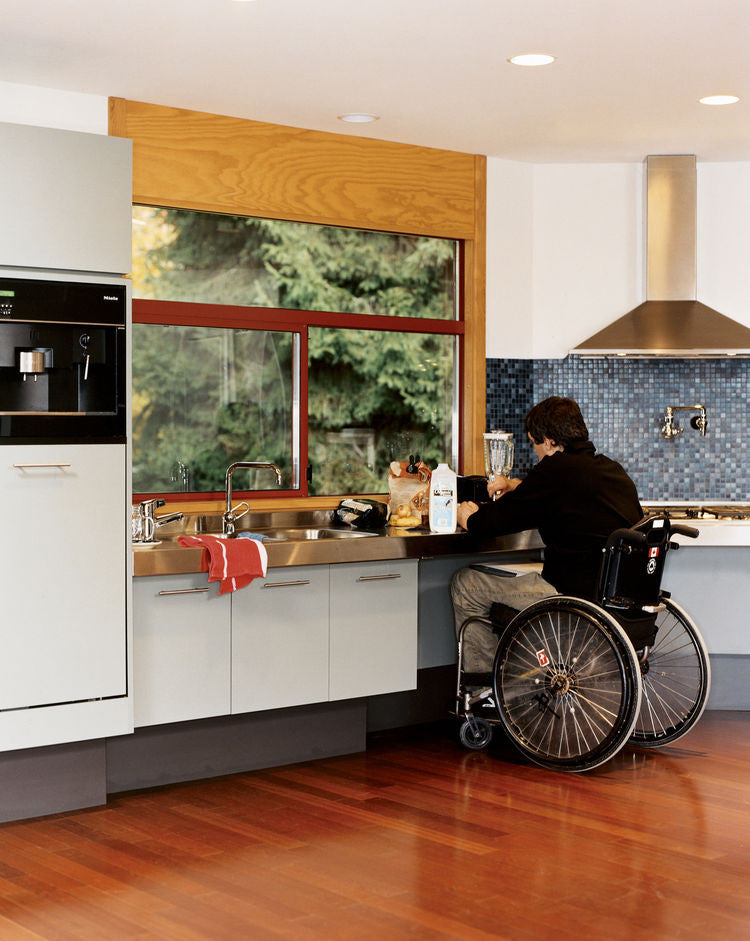
9 Steps for Planning an ADA Compliant Remodeling Project
Remodeling your home for ADA Compliance is generally much easier than people think. The overall goal is to create a smarter home that makes life easier for the inhabitants. Here are nine steps to consider while planning your ADA compliant remodeling project.
Step 1: Think About What You Need
There’s a lot of wanting and longing when it comes to remodeling, but it’s important to think of what you need first. Start figuring out exactly what works in the space that you’re trying to fix and what doesn’t. ADA compliance often means the widening of hallways and doorways, removing the curb from the shower, adding grab bars, and creating a home that is much easier to navigate.
Step 2: Research, Research, Research
Once you’ve figured out exactly what you need, do a bit more research and plan all the details of your project. That means figuring out a budget, getting a timeframe down, and figuring out the style you want. Consider adding comfort items that will add to the overall functionality of the home as well; an automatic door system that allows free movement from room to room or onto the deck or patio from inside the home, for example.
Step 3: Get Professionals
Finding the professionals that you need can be difficult, but it’s a necessity. If you only have a few small DIY projects, feel free to tackle those yourself, but if you have large projects in store, don’t skimp - get a quote from a few general contractors.
Step 4: Design
The ability to implement your personal style while increasing the functionality of the home is very important. Again, it may be best to work with a general contractor or even a home design expert while planning the new design for your home.
Step 5: Specificity and Details
Getting the little details just right is the key to bringing your entire home together after an extensive remodeling project. Try to make sure that the little details all come together whether it’s the faucet for the kitchen sink, the door facing that leads to the living room from the kitchen, or simply the texture of the flooring.
 Step 6: Collaborate
Collaborate with your chosen professional on how to get exactly what you want by developing a to-do list as well as charts. Discuss the potential of adding pocket doors with an automatic door opening and closing system throughout the home – specifically the doors that lead to the bathroom and bedroom.
Step 7: Get Ready
Talk about specific instruction details and figure out your construction schedule when you get started. More importantly, don’t freak out!
Step 9: Surviving the Task List
Keeping a comprehensive and easy-to-understand task list is the best way to survive your remodel. Keep the project moving steadily and remember to breathe.
Remodeling your home to be more accessible can be a daunting task. Make sure you’re ready to take the plunge before you call to discuss your ideas with a designer or builder. Contact Autoslide USA if you’re interested in implementing automatic doors or windows in your remodeling efforts. Our system works beautifully with standard pocket doors, sliding glass doors, and windows to allow ease of movement from room to room or to the patio.
